
At Help Scout we rely heavily on HubSpot to communicate with our customers.
In order to set up workflows and personalize those emails, we need to get data about our customers into HubSpot. In the past this usually required lots of manual CSV wrangling or involving one of our engineers who would update some backend code to push the relevant data over to HubSpot using their API.
Several months ago we started using Looker, a mind-blowingly powerful Business Intelligence (BI) tool, to analyze and report on data.
As part of a project this week, I did some research to figure out whether or not it’s possible to set HubSpot contact properties using the data we have in Looker. It turns out that it is possible, but there are some gotchas that took some time to figure out. This post is about exactly how to do it.
Big picture, we’re going to schedule a Look to send data to Zapier via a webhook, then use Zapier to update the contact properties in HubSpot. This guide assumes some familiarity with all three of these services.
Scheduling a Webhook in Looker
For this guide, lets imagine that we want to set a Plan Name contact property in HubSpot. We’ll need two data points: the contact’s email address and the plan name.
Here’s what the Look might look like:
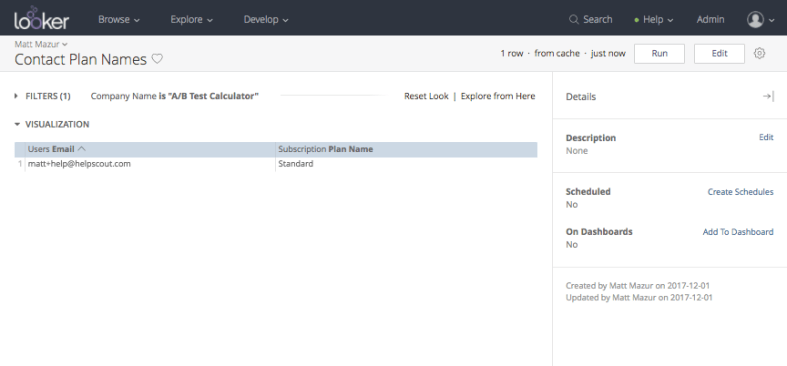
Note that I’ll just be setting the plan name for a single user in this guide, but this would work fine if the Look contained a list of users/plan names as well.
Looker lets you set up a set up a Schedule for a Look. You can do things like email yourself data on a regular basis, upload data to an FTP, or for our purposes here, post the data to a third-party webhook.
Before we can set this up though, we’re going to need a Zapier webhook URL to send the data to.
Setting up the Trigger in Zapier
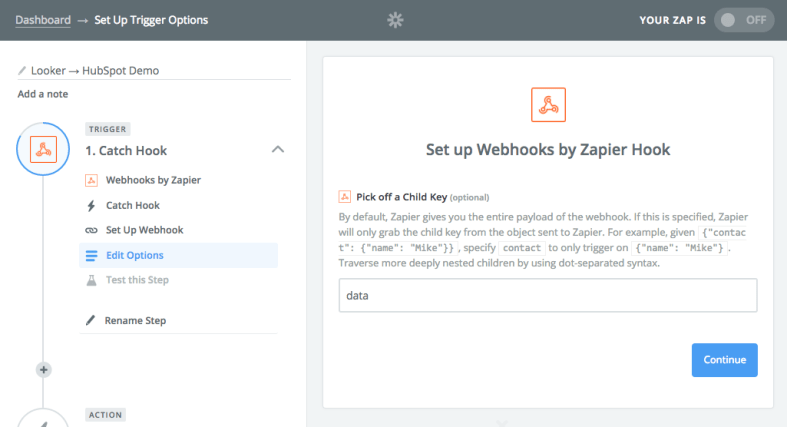
Create a new Zap and select Webhooks by Zapier as the trigger app.
The trigger should be Catch Hook (Wait for a new POST, PUT, or GET to a Zapier URL):

For the Set Up Options, it’s going to ask you whether you want to pick off a child key from the payload. Enter data there. This will tell Zapier to ignore the rest of the payload that Looker sends it and just grab the data (the emails and plan names):
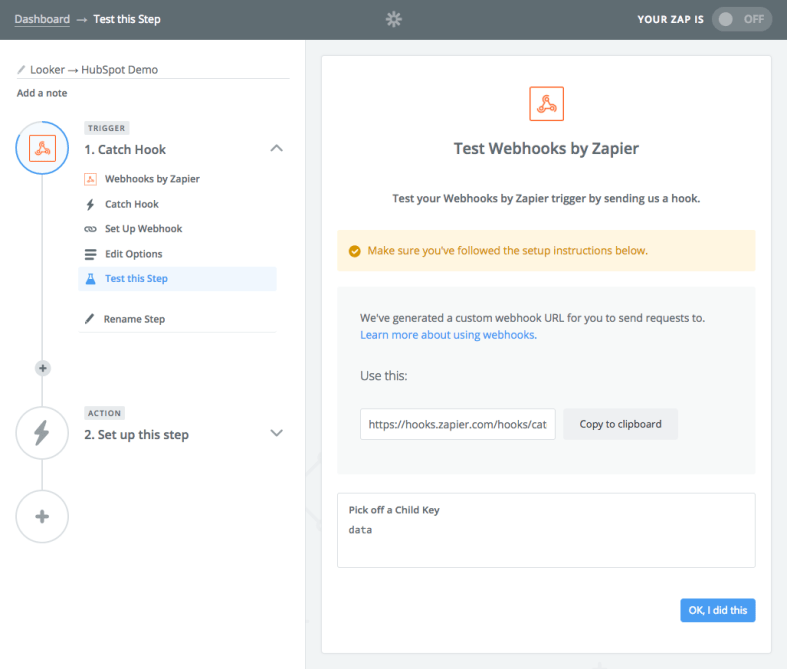
Next, copy the webhook URL that Zapier provides you:
Head back to the Looker Schedule. Make these changes to the defaults:
- Destination: Webhook
- Address: paste the URL that Zapier provided
- Format: Change it to JSON – Simple, Inline
- Uncheck formatted data values
- You can also change the other options like the schedule based on your requirements.
It should look something like this:

To test it out, click the Send Test button at the top.
Back in Zapier, it should tell you that your test was successful:

You can click on the view your hook link to view the data:
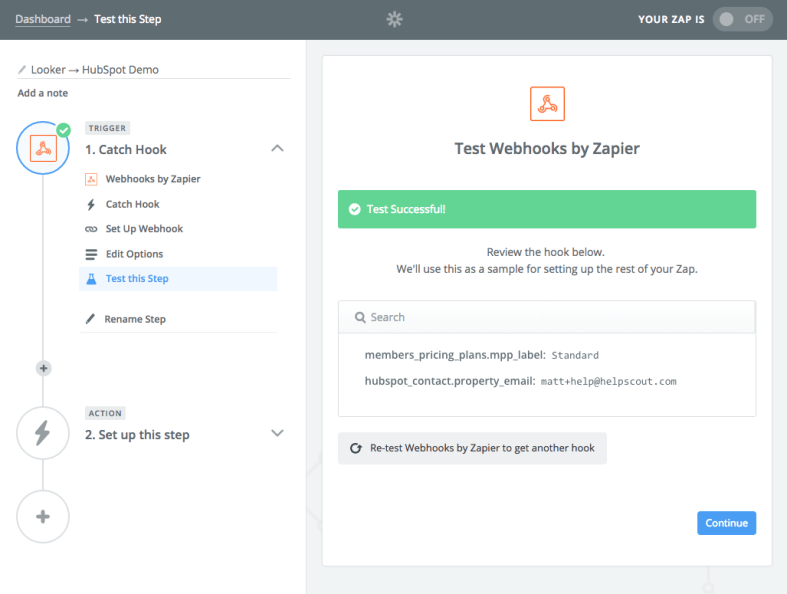
It has the email and plan, just what we expected.
Next, lets tell Zapier what we want it to do with this data.
For the Step 2 action, choose HubSpot as the desination app. For the action, choose Create or Update Contact:

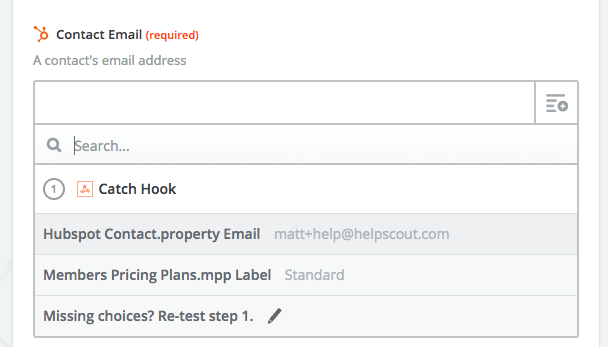
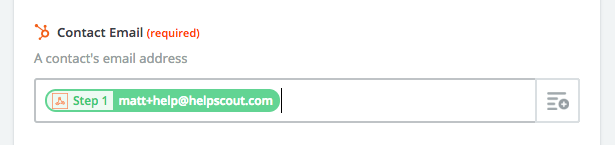
Now here’s the neat part. For the Set Up Template step, we’re going to map the data from Looker over to HubSpot contact properties. For this example, I’ll map the Contact Email HubSpot property to the email address from the Looker data:
And then map the plan name HubSpot property to our data as well:

Click Continue at the bottom of the page to move onto the testing step. Zapier will show you a summary of the mapping:

Before you run the test, I’d recommend loading the contact’s details in HubSpot to confirm the property is not set (that way you can be sure if it’s set after you test it that it was a result of your test and not because it was previously set):

The Plan Name is blank, so now lets run the test.
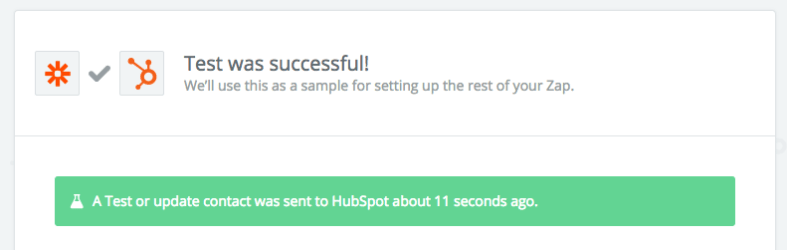
Zapier will tell you it was sent:
Reload the contact page, cross your fingers, and…

Voila! We successfully updated a HubSpot contact property by taking advantage of Looker’s webhooks and Zapier’s integrations.
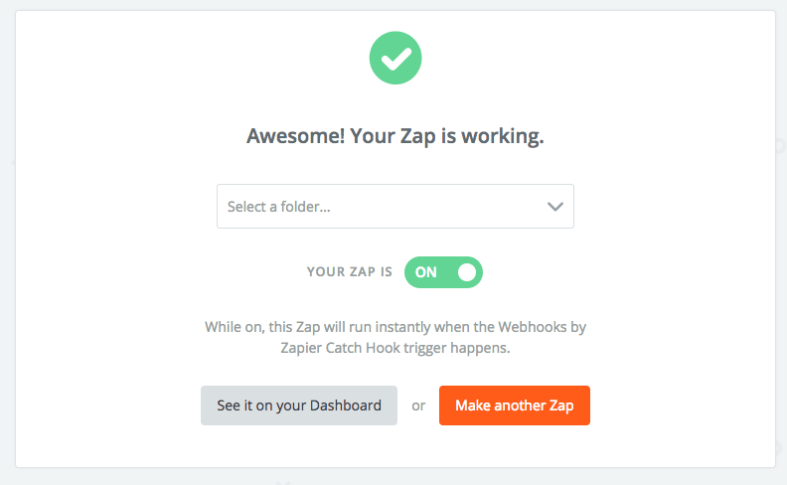
From here, you could turn on your Zap to make it permanent and then just make sure to save the schedule for the Look so it happens automatically going forward.
Troubleshooting Tips
If the HubSpot property isn’t set like you expect, there are two things to check out. First is the Task History in Zapier:

Here you’ll be able to see whether Zapier received the data from Looker and whether it ran into any problems:

If you don’t see the request there, it probably means that Looker didn’t send it over to Zapier. To check, head to your Settings page in Looker and go to the Schedule History section. You should see the details:

I ran into an issue while testing this where Zapier wasn’t receiving the data because I had the Schedule option toggled that told Looker not to send the data if nothing had changed. Because I had already tested it, Looker didn’t fire the request. This page will tell you if something like that happened.
That should do it! If you run into any trouble setting this up for your company, don’t hesitate to drop me an email.
